Brew It Yourself: Percolator Coffee
Guest Blogger Chris LeFrancois reminds us of a simpler time
With these tips, you can make the best coffee in a percolator
What is a Percolator?
If, like me, you’re of a certain age — lets just say I’m old enough to have been given a Slinky as a present before it was a novelty item, and once regarded Pac-Man as radical new gaming technology — you’ve probably enjoyed (or, possibly “endured”) coffee made in a coffee percolator.
When you hear “percolator”, do you think of those metallic monstrosities sitting on a table in the corner of the gymnasium at community events, dispensing seemingly endless amounts of (often dubious quality) coffee? Sure you do.
Yes, that is a percolator. But today we’re talking about the much smaller version you’d find in a home kitchen.
We are also NOT talking about a Moka pot - also a type of stovetop coffee maker. (If you thought that’s what this was about, then check out the Moka Pot - Bialetti - Stovetop Espresso Brew Guide here.)
The percolator we’re talking about was first developed in the 1800s. The modern North American stovetop percolator was patented in 1889 and newfangled electric versions were available as early as the 1920s.
Percolator vs. Auto Drip Coffeemaker
The percolator fell out of widespread use in the early 70s (or so I’ve heard – I’m not that old!) mainly due to the introduction of automatic drip coffee makers.
Percolator sales took a nosedive, and while they are still often used for big gatherings requiring large amounts of coffee, they have been supplanted in most households by drip coffeemakers that can produce quality coffee without the vigilance required when brewing with a stove-top percolator.
Coffee Quality
The main reason percolators fell out of favour is that many people consider the coffee they make to be inferior to the brew from newer coffeemakers. This view is not entirely unwarranted, and is mainly due to the process by which percolators make coffee.
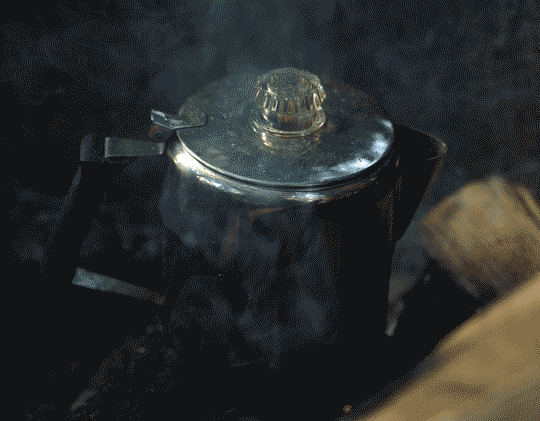
How Does a Percolator Work?
Percolators consist of three main parts:
a lower chamber that water is poured into
a vertical tube leading from the water chamber to the top of the percolator
the filter basket - a perforated chamber where the coffee grounds are placed, just below the top of the vertical tube.
Most stove-top percolators also include a glass knob on the top of the lid through which you can watch the brewing process.
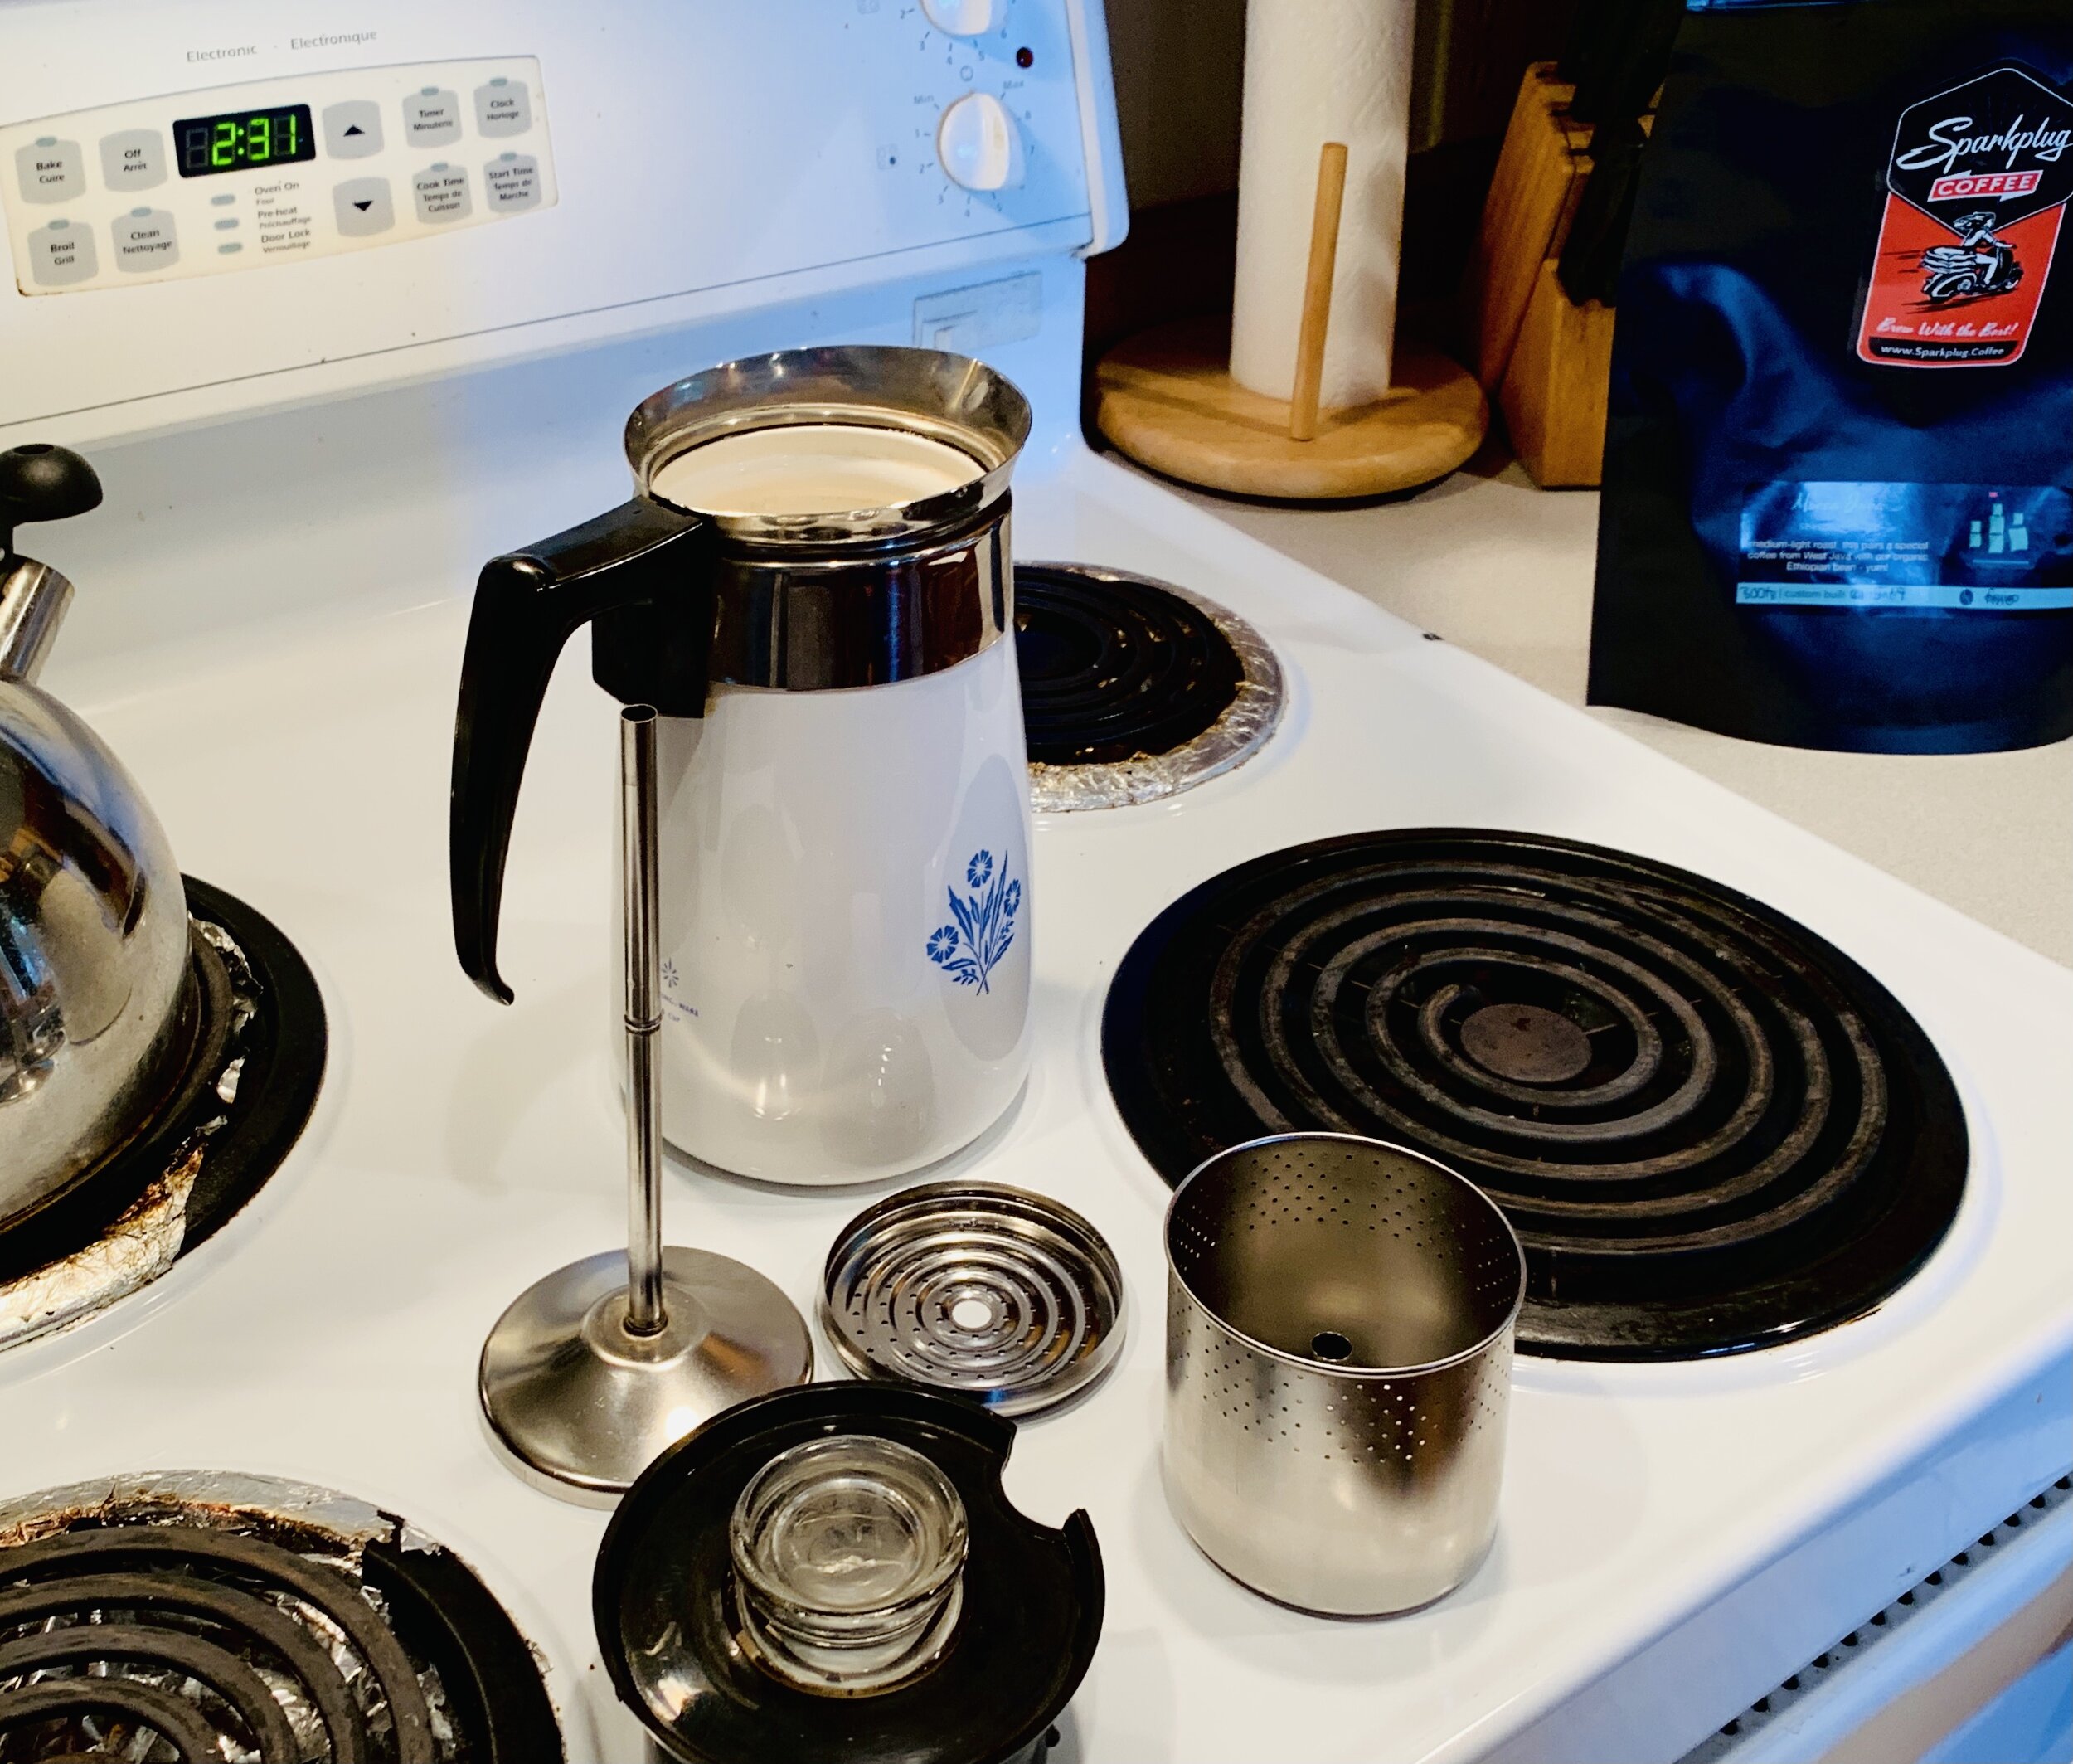
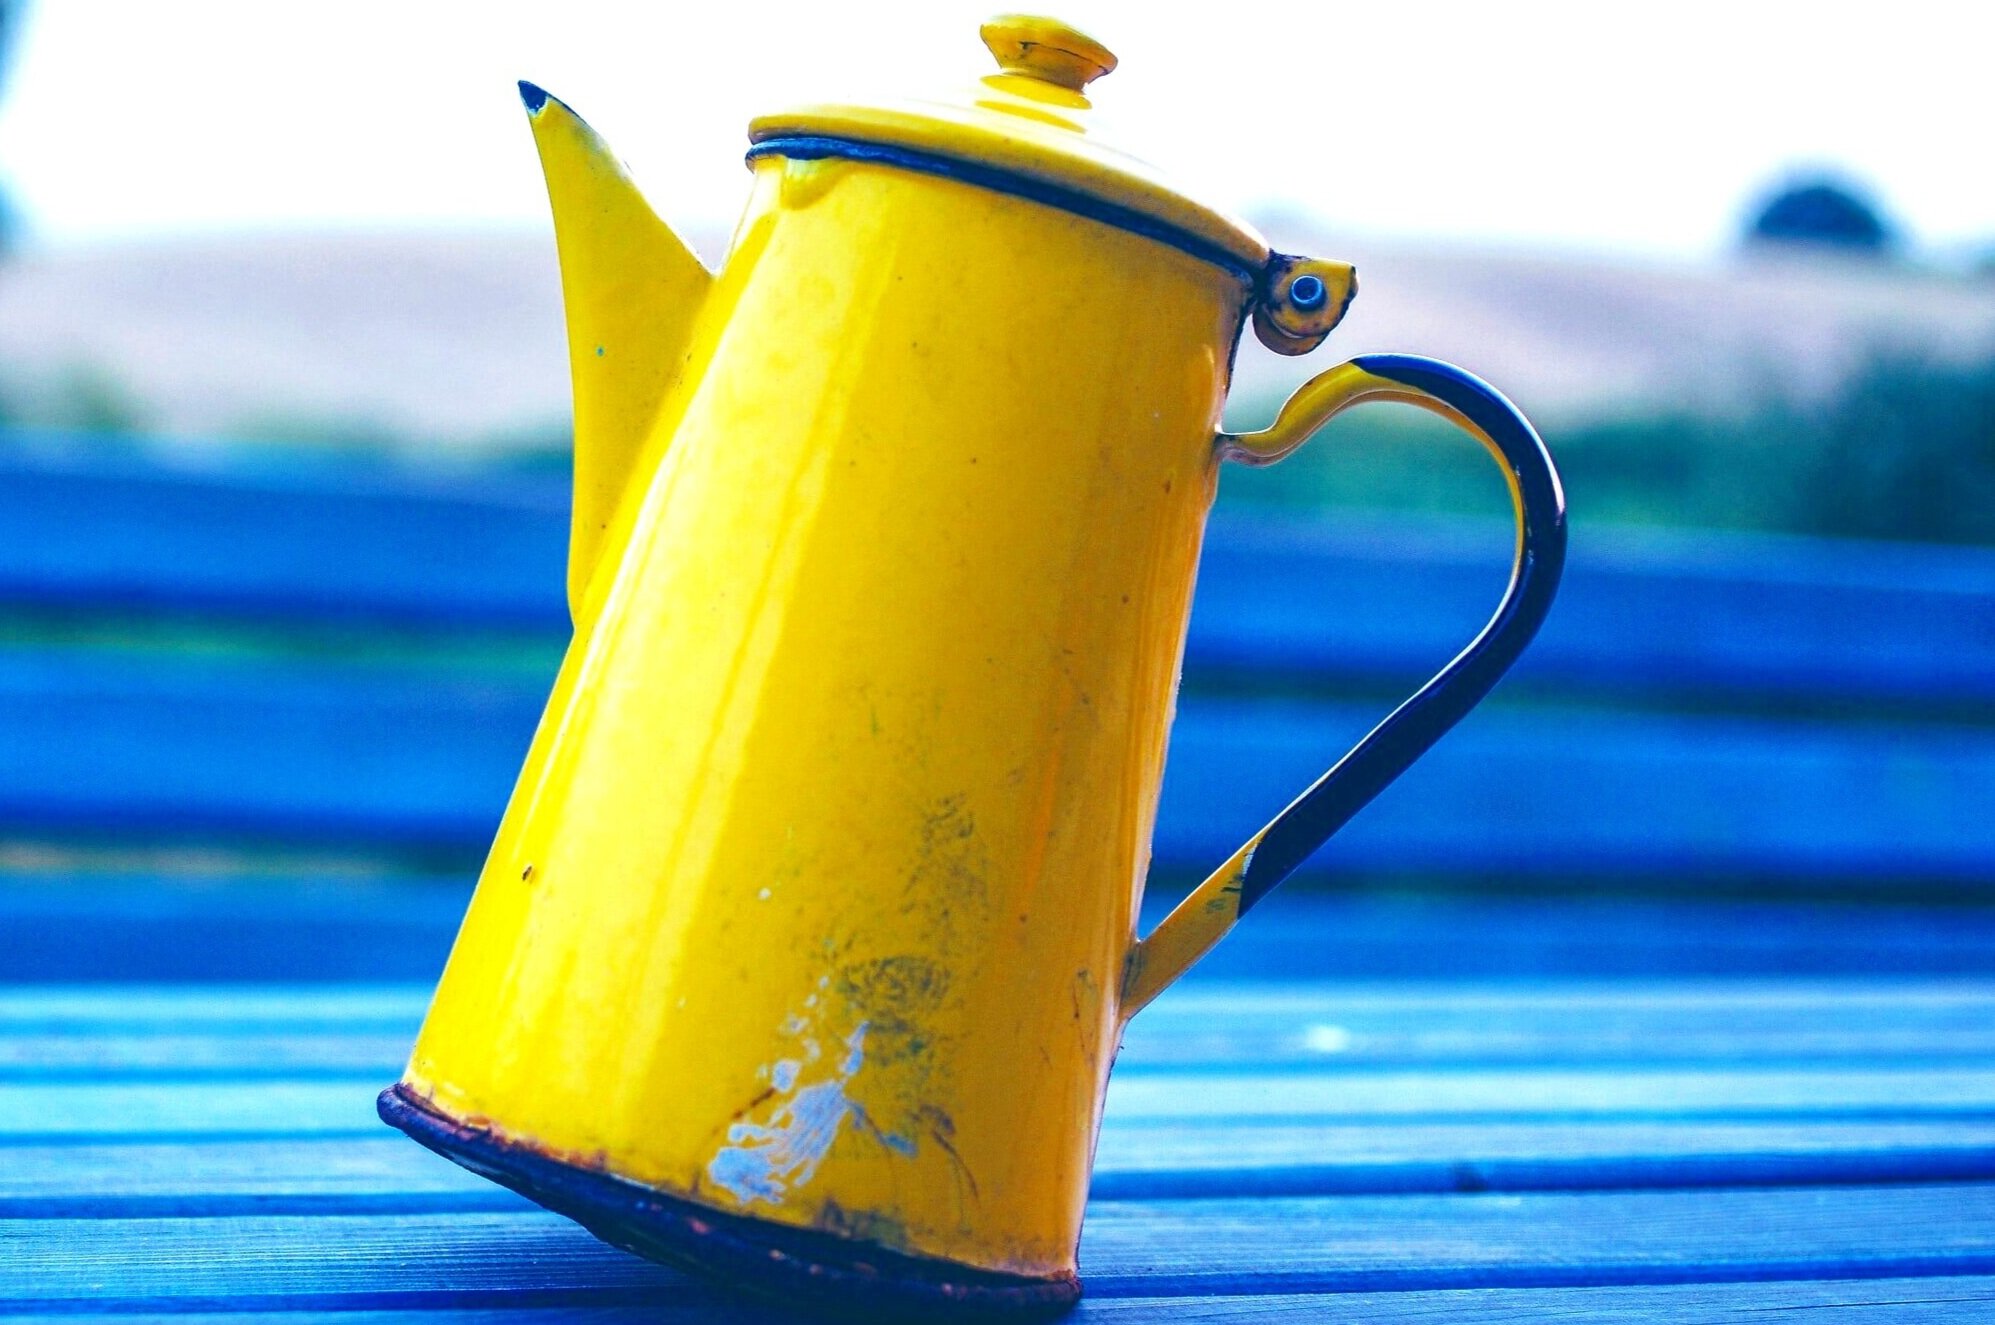
A classic 1970s Corningware stovetop percolator equips a cottage kitchen, Georgian Bay, Ontario
To make coffee in a stovetop percolator, the percolator is placed on a heating element. Once the water in the lower chamber begins to boil, air bubbles push the water up through the tube and out over the coffee chamber. The water permeates the ground coffee and drains through the coffee chamber’s perforations back into the water chamber.
This process repeats, recycling the water through both chambers until it’s ready for drinking.
This can result in already-brewed coffee passing again through the grounds, and increases the risk of over-extraction and bitter-tasting coffee. Also, the relatively high temperature required to produce enough steam for this brewing method can lead to a metallic taste.
The good news is that there are some useful tips to maximize the quality of percolator-brewed coffee, which we’ll cover shortly.
Before we get to the brewing tips, I should address the question you’re undoubtedly asking:
If a percolator requires a level of attentiveness that my automatic drip coffee maker doesn’t, and can result in an overly bitter brew, why on earth would I want to use one?
While it’s true that a stove-top percolator needs to be watched to ensure your coffee isn’t over-brewed, as a long-time user I have come to appreciate this morning coffee ritual.
Sure, you could just press a button on your automatic drip machine, let it do its thing, and possibly fall back asleep with the calming notion that it will shut itself off when the brewing process is done.
But I find the process of hovering around my percolator, listening to the reassuring “perking” noise it makes (literally the sound of nature’s own wakeup nectar being born!) to be soothing. As is watching the glass viewing knob, burbling with liquid slowly changing from water to the beautiful, darker hue that is coffee.
The focus required as the coffee brews helps me to be more alert and present in the moment, and clears some of the cobwebs from my newly awoken brain.
While the percolator lacks the convenience of self-monitoring machines, it makes up for it by being easy to use, easy to clean, and has nothing mechanical to break down. Plus, if you prefer your coffee nice and hot, you’ll appreciate the percolation method – it produces a piping hot cup of joe.
Then there are the aesthetics of the percolator to consider. If you are a fan of all things retro, you’ll admire its typically minimalist and unadorned design.
Percolators are made in a wide range of sizes and styles, and it can be fun tracking down one that suits the look of your home decor. Plus, if you’re reading this you’re very likely a coffee enthusiast, and open to expanding your coffee-making repertoire beyond your daily routine.
While it may not replace your current go-to method entirely, it’s a fun old-school alternative that I hope you’ll come to enjoy. Now, let’s get to some tips that will help you get the best brew possible from your percolator!
Percolator Coffee Making Tips
What’s the Best Coffee & Grind for a Percolator?
Chose your coffee wisely… Medium Roast & Medium Grind
As with most brewing methods, getting the grind right makes a huge difference to the coffee taste.

For a percolator, use a medium-coarse grind.
What’s that mean? A bit chunky, like coarse sand. Not as chunky as coarse salt. You want the water to run through the coffee grinds pretty easily. This helps you to avoid over-extraction and an overly bitter brew which will happen with a finer grind.
Pick a Medium or Dark Roast Coffee
Most perc coffee drinkers prefer a medium roast or dark roast blend. I’m partial to Sparkplug’s DEUCE COUPE blend. It’s a medium-dark roast blend of South American beans that my percolator transforms into a strong and tasty mug of coffee.
You will want to play around with the grinds-to-coffee ratio to find the coffee strength that suits your tastebuds. Most percolators have guidelines in the basket and the carafe and I’d start with those. The basic rule of thumb for any coffeemaker is 30 grams (roughly 1/4 cup) of ground coffee per 500 ml (17ozs or 2 cups) of water.
Careful Not to Overheat!
Place your stovetop percolator on the heat source before turning on the heat.
This will ensure a slow, gradual heating process and prevent boiling, which can lead to a more bitter taste. Unlike with drip coffee makers, you can start with hot water, not cold – this will help to prevent over-brewing. Turn the heat to a low to medium setting (overheating is the main culprit behind lousy percolator coffee) and let your percolator heat the water enough for it to bubble up through the tube and into the filter basket. You want the water to stay really hot but just below the boiling point.
Stop, look, listen…and smell
Hold on there…. Don’t wander off to pet the cat or check today’s weather just yet – you need to remain vigilant! Once you begin hearing the telltale “perking” sound, you’ll know your percolator is starting to do its work.
Watch the glass viewing knob on top of the lid. It will start to bubble, initially with a fairly clear liquid that will ultimately transform into a golden brown coffee colour.
Once the “perking” starts, the water is close to boiling so this is when you’ll want to reduce the heat slightly. The timing of the bubbling is key to determining if your coffee is brewing at the optimum temperature. Ideally, the liquid should bubble once every 3 or 4 seconds. If it’s bubbling more frequently, turn the temperature down a bit more. If it’s bubbling less frequently, increase the temperature slightly. As an added bonus, that delicious coffee smell will gradually take form, another sign that your brew is progressing as it should.
Timing is Everything
Your coffee is ready once it has reached its typical golden-brown hue and its been bubbling every 3-4 seconds for a while. As a general rule, my coffee is ready roughly five minutes after I see and hear the first bubbling “perk”, provided I’ve adjusted the temperature to an appropriate level.
Act Fast!
As soon as it’s ready, remove the percolator from the heat source! Don’t overcook it and ruin your coffee! Pour the coffee into your mug as soon as it is ready.
If your coffee comes out either too weak, too strong or too bitter, don’t fret. Make a mental note of the coffee-to-water ratio, temperature and amount of time used, and adjust accordingly.
Go Electric
We’ve covered the really old-school stovetop percolator. But there is another - and easier - option. The electric percolator works exactly the same way except that it heats the water automatically. And shuts itself off when the coffee is perked!
Many of the electric models have a timer and automatic shut-off mechanism, requiring less of your attention. Plus, they often have a “warm” setting that will keep your coffee from cooling down too much in the percolator while still halting the brewing process.
The electric version typically takes a little longer to brew than the stovetop version (but not always, this depends on the model – consult the manufacturer’s guidelines). But since you don’t have to watch it as diligently, you’ll have plenty of time to say good morning to the cat.
Now you’re ready to enjoy a delicious cup of percolated coffee. As always, we’d love to hear from you – let us know how your adventures in percolation went!
Happy brewing!
Don’t miss out on any of our coffee making tips: sign up for the Sparkplug Scoop email newsletter and brew with the best!
You gotta be on our email news list to be eligible to WIN a bag of COFFEE. That’s right! Every month, we give away coffee to one lucky person, randomly picked from our email subscribers.